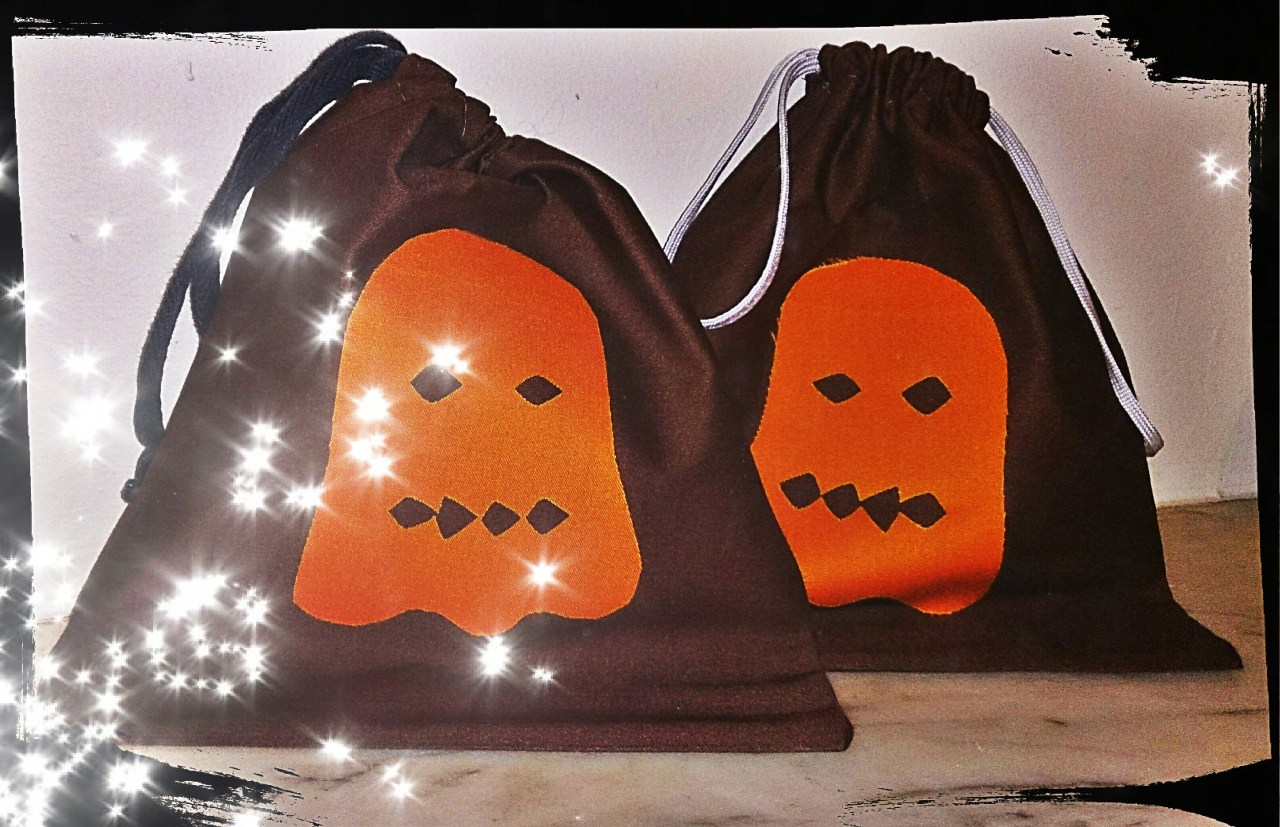
So it’s the boys’ first time trick-or-treating this year and they needed some sort of vessel to stash their impending goodies in. Looking around I see so many plastic cauldrons that will only be tossed once the season has waned…I don’t want to contribute to that wastage and so created these little drawstring bags from scrap material.
What you’ll need:
– 2 strips of material of any description (I’ve used basic cotton here). Approximately 40cm x 40cm.
– A spooky stencil (or make your own using iron-on materials or even just thick paper and glue).
– About 60cm of ribbon if you can. I had to make my second bag with just 40cm, that worked fine too.
– A sewing machine (or needle and thread of course, it won’t take too long).
Steps to spookiness (link to my eerily easy pattern below):
1. Fold, iron and sew down 2cm of material at two ends of your material. This is where your ribbon will be threaded through.
2. Now fold your bag in two and sew up the two sides, taking care not to sew over your ribbon openings at each end. Turn the bag the right way round.
3. Iron or glue your stencil onto the front of your bag. If you do glue it, pop a plate or something inside the bag while it dries.
3. Thread your ribbon using a chopstick and tie off.
Make A Super Speedy Spook Bag Pattern
Total cost and production time: About 20 minutes and I paid a whopping big $0 given I used scrap materials.
Boo!
